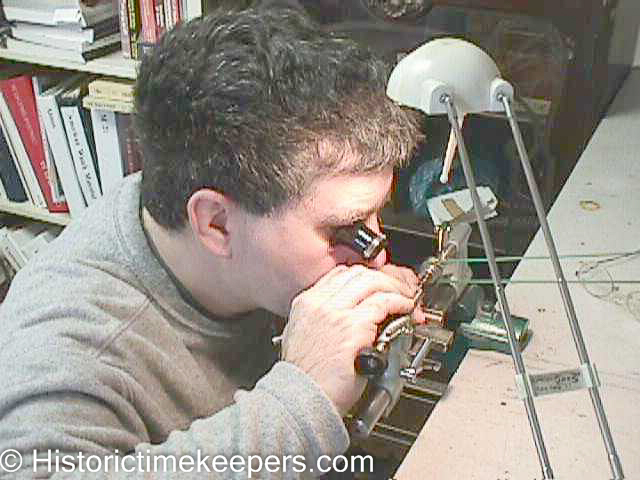
Using
the rollers, hub and balance spring for measurement and a carbide
graver, a staff for a 19th century marine chronometer will soon be made. Using
the rollers, hub and balance spring for measurement and a carbide
graver, a staff for a 19th century marine chronometer will soon be made.
 After
cutting a male cone on the end (so the blank can be finished in the
turns), I cut to the diameter needed for the balance hub (the largest
diameter). You may be able to see that I use the graver with the
ground face to the work. After
cutting a male cone on the end (so the blank can be finished in the
turns), I cut to the diameter needed for the balance hub (the largest
diameter). You may be able to see that I use the graver with the
ground face to the work.
The hub should be a driving fit on the staff so it will not work
loose. Taper the hub seat so that the hub cannot be pushed more
than 1 to 1.5 its height from its final location.
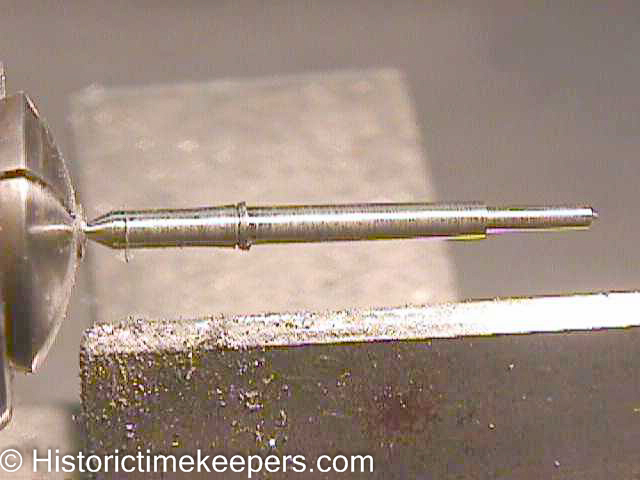 The
finished blank. Part it from the lathe by cutting a male cone on
the headstock end. At this point, because the blank was turned
"in one chucking", all surfaces are concentric. The male
cones will be used to finish the blank in "the turns", a dead
center lathe. The advantage of the turns is that the work can be
removed any number of times to check the fits; and then returned to the
lathe without "losing the center". I finish all
chronometer staffs and staffs for precision watches in the turns.
Depending on the staff design, there are times when I will turn a watch
staff completely in the lathe. However, you need good equipment in
order to turn the staff end for end and still have reasonably concentric
diameters. The ONLY way to ensure concentricity is to either use
the turns or "turn in one chucking". The
finished blank. Part it from the lathe by cutting a male cone on
the headstock end. At this point, because the blank was turned
"in one chucking", all surfaces are concentric. The male
cones will be used to finish the blank in "the turns", a dead
center lathe. The advantage of the turns is that the work can be
removed any number of times to check the fits; and then returned to the
lathe without "losing the center". I finish all
chronometer staffs and staffs for precision watches in the turns.
Depending on the staff design, there are times when I will turn a watch
staff completely in the lathe. However, you need good equipment in
order to turn the staff end for end and still have reasonably concentric
diameters. The ONLY way to ensure concentricity is to either use
the turns or "turn in one chucking".
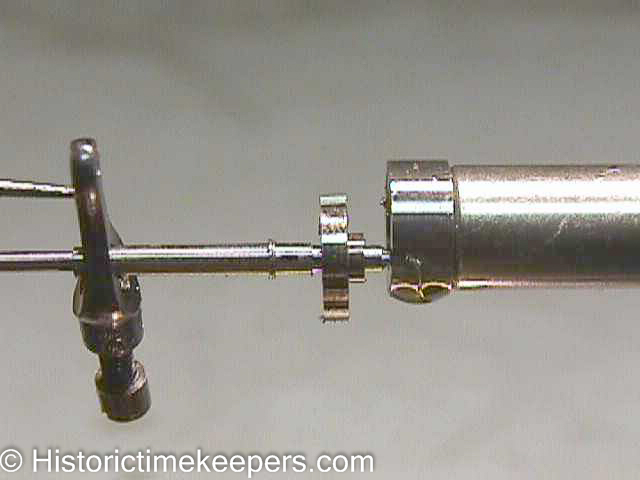
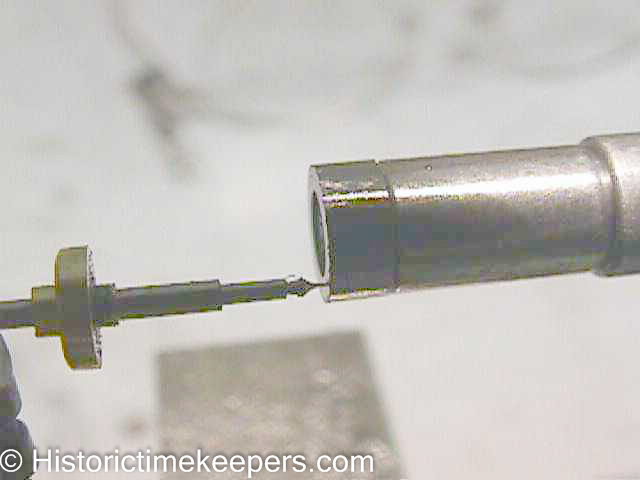
 The
blank is fitted with a driving dog and mounted in the turns. Note
how little of the cone is actually held in the tailstock end. This
allows the pivot (which in this staff will be .15mm) to be cut.
There are various forms of dead center lathes, this is a current
production system by Steiner. It is well thought out and makes its
use much more of a pleasure than the traditional tools by Lorch, Boley
or the antique patterns. Plus, accessories can be purchased form
the factory. The
blank is fitted with a driving dog and mounted in the turns. Note
how little of the cone is actually held in the tailstock end. This
allows the pivot (which in this staff will be .15mm) to be cut.
There are various forms of dead center lathes, this is a current
production system by Steiner. It is well thought out and makes its
use much more of a pleasure than the traditional tools by Lorch, Boley
or the antique patterns. Plus, accessories can be purchased form
the factory.
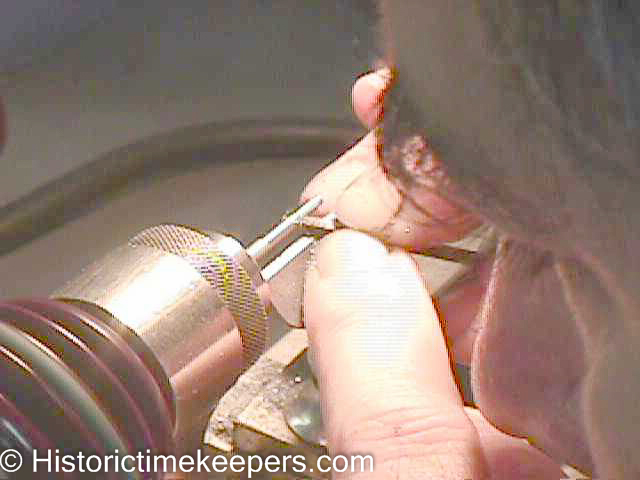
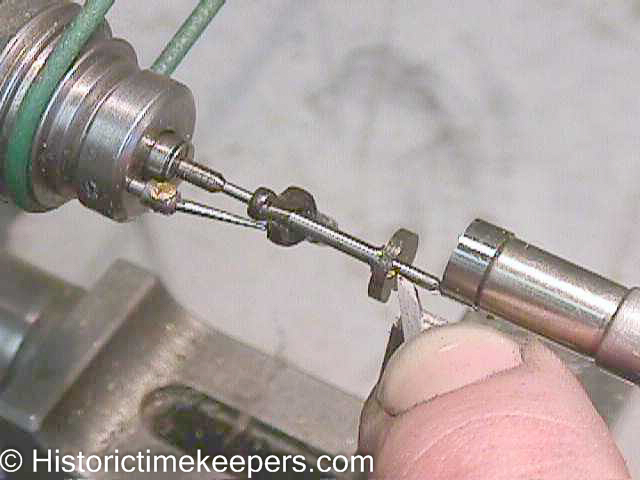
 The
driving pin on the pulley drives the dog which is screwed to the
staff. Because the cones do not rotate, you do not have to worry
about messing up the attachments with your graver. In fact, I use
the side of the tailstock cone as a guide when cutting the pivots.
Here, you can see I am using the ground face of the graver against the
work. Some use the ground face up; but many find the way shown
here gives better control. The
driving pin on the pulley drives the dog which is screwed to the
staff. Because the cones do not rotate, you do not have to worry
about messing up the attachments with your graver. In fact, I use
the side of the tailstock cone as a guide when cutting the pivots.
Here, you can see I am using the ground face of the graver against the
work. Some use the ground face up; but many find the way shown
here gives better control.
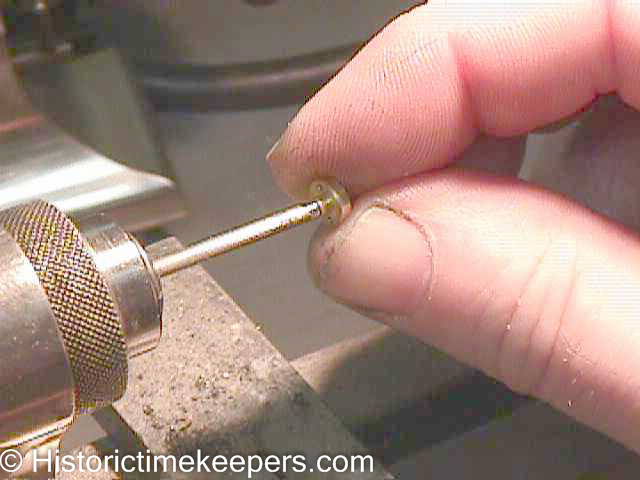
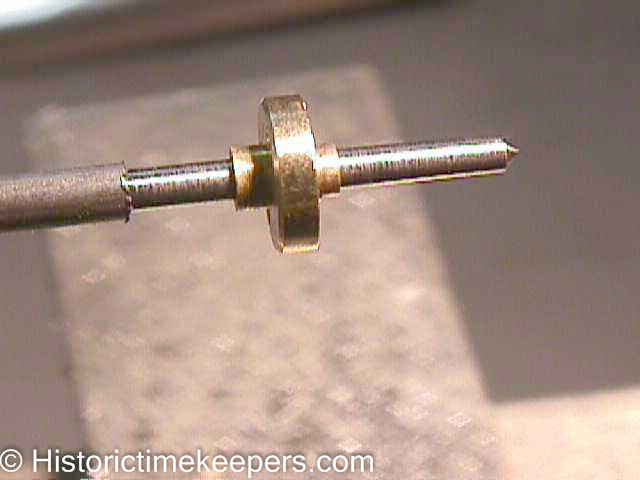
 The
fit of the impulse roller (which requires the larger diameter on this
end) is checked. The roller is upside down. This allows me
to be certain of the tapered fit when I finally assemble the
balance. The oil on the cone collet is from lubricating the male
cone of the dead centers. The
fit of the impulse roller (which requires the larger diameter on this
end) is checked. The roller is upside down. This allows me
to be certain of the tapered fit when I finally assemble the
balance. The oil on the cone collet is from lubricating the male
cone of the dead centers.
 With
the impulse roller in its final location, mark the bottom end of its
seat. The next cuts will step down to the diameter for the
unlocking roller. With
the impulse roller in its final location, mark the bottom end of its
seat. The next cuts will step down to the diameter for the
unlocking roller.
 The
fit of the impulse roller (which requires the larger diameter on this
end) is checked. The roller is upside down. This allows me
to be certain of the tapered fit when I finally assemble the balance. The
fit of the impulse roller (which requires the larger diameter on this
end) is checked. The roller is upside down. This allows me
to be certain of the tapered fit when I finally assemble the balance.
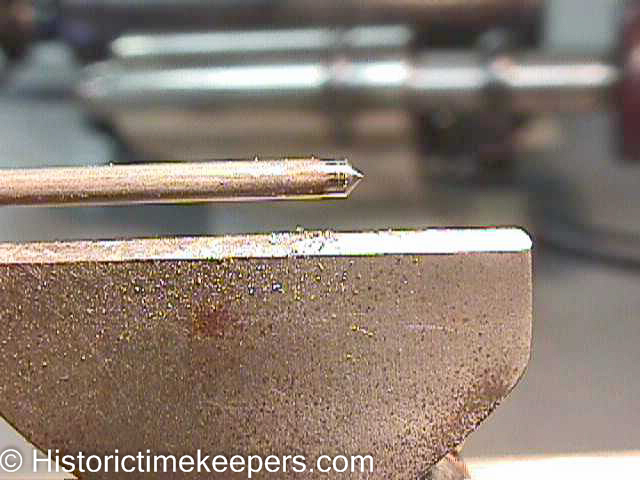
 The
cone for the pivot is first undercut. This traps any oil that may
migrate out of the jewel. Then the pivot is cut. while it takes a
little practice to cut a pivot of less than .2mm, after some errors you
learn the touch. The
cone for the pivot is first undercut. This traps any oil that may
migrate out of the jewel. Then the pivot is cut. while it takes a
little practice to cut a pivot of less than .2mm, after some errors you
learn the touch.
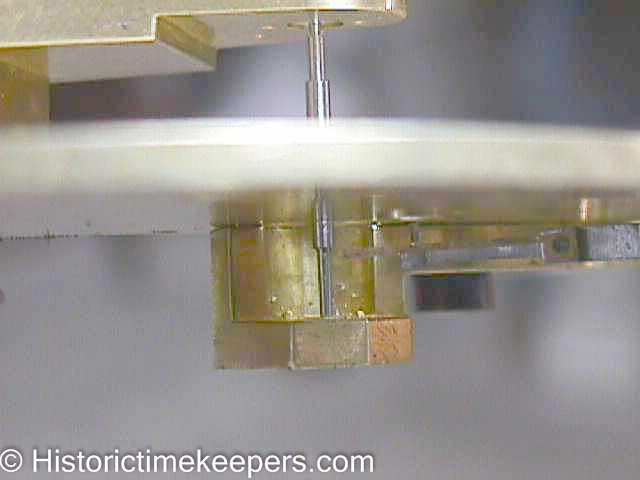 The
fits of the staff length and heights of the various seats are
checked. Here you can see the bottom of the impulse roller seat is
slightly above the passing spring of the detent. This will allow
the unlocking roller to seat at the right height, while ensuring the
passing spring does not foul on the bottom of the impulse roller. The
fits of the staff length and heights of the various seats are
checked. Here you can see the bottom of the impulse roller seat is
slightly above the passing spring of the detent. This will allow
the unlocking roller to seat at the right height, while ensuring the
passing spring does not foul on the bottom of the impulse roller.
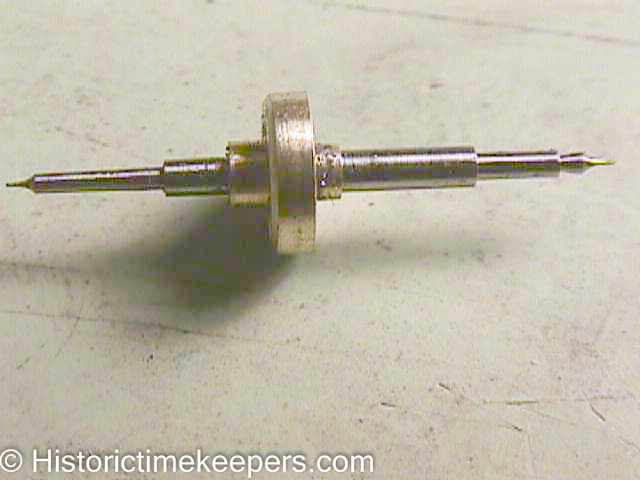 The
staff as removed from the turns. It has not yet been
polished. You can see the surfaces are smooth and the angles are
all sharp. I hope to put up a page on polishing and finishing in
the near future. The
staff as removed from the turns. It has not yet been
polished. You can see the surfaces are smooth and the angles are
all sharp. I hope to put up a page on polishing and finishing in
the near future.
|