Popular Highlights
When only a watchmaker will do
Restoration of Omega Jump Seconds Clock
|
Making a Spring Detent |
 Finished Spring Detent |
||
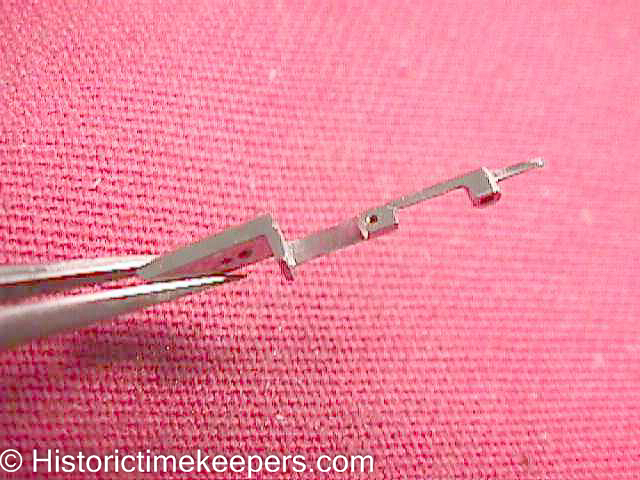
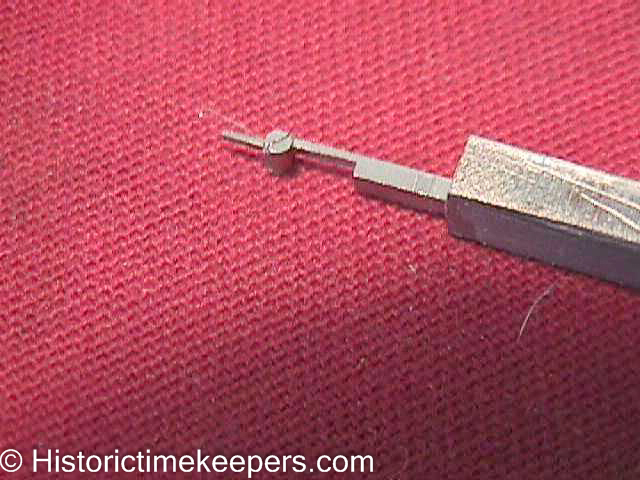
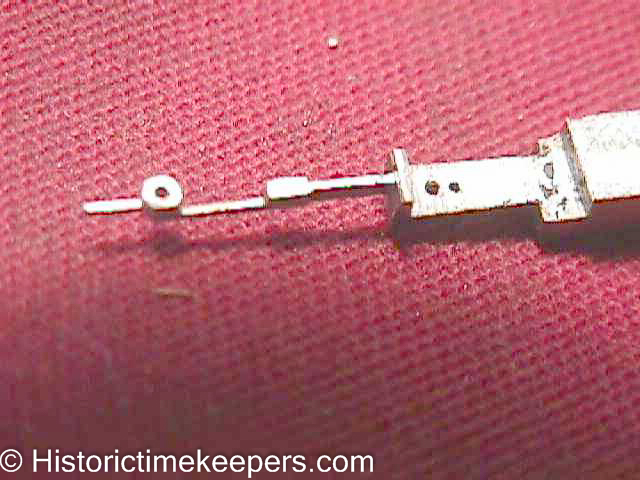
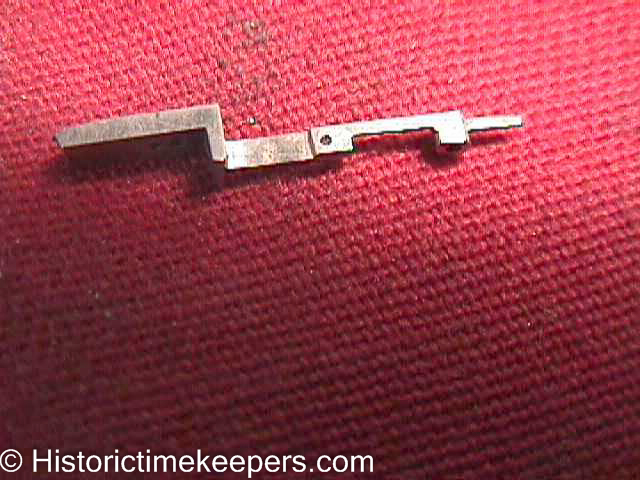
| This page lays
out my procedure for making spring detents for marine chronometers and
chronometer watches. In this particular example, it is my second
detent for the same instrument. The first detent (seen next to the
prepared steel blank) had a polishing fault which resulted in the bend
seen in the spring blade. There was a nick which resulted in the
spring cracking after about 10 trials before fitting it into the
instrument.
Most of the time, "fatal" flaws will not show up until the after the detent is nearly completed. This is because the blade itself gets polished down to .03 mm. It must be polished flat and parallel. Any mistakes at that stage are irreversible. Also, hardening and tempering take place after all filing, drilling and tapping. A mistake in hardening and tempering can result in several hours of lost work. Too brittle, and the spring blade will break during final grinding and polishing. Too soft, and the spring will not have enough strength to operate correctly. The trick to making any complex part is to plan the work so that each section of the part has the strength to hold up to whatever machining or forming work to be conducted.
After cutting a piece of oil hardening steel to size, file the four sides square and roughly to size of the detent.
Drill the hole for the locking jewel. Everything is taken from here, so be certain the hole is straight. By drilling while the stock is oversized, you can file the sides parallel to the hole, and not be overly concerned with getting the hole dead center.
Tap the hole and fit hardened steel screws at the top and bottom. These screws will serve as the templates for filing the pipe round (the file simply slides over the hardened steel screws).
.
|
|||
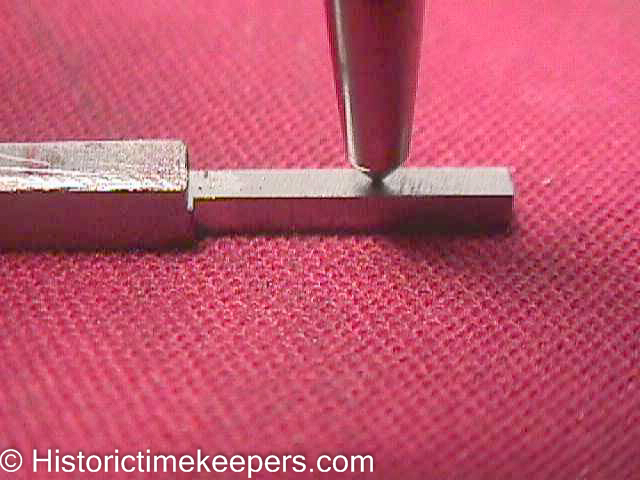 Locate
the position of the locking jewel and center punch it in preparation for
drilling.
Locate
the position of the locking jewel and center punch it in preparation for
drilling.
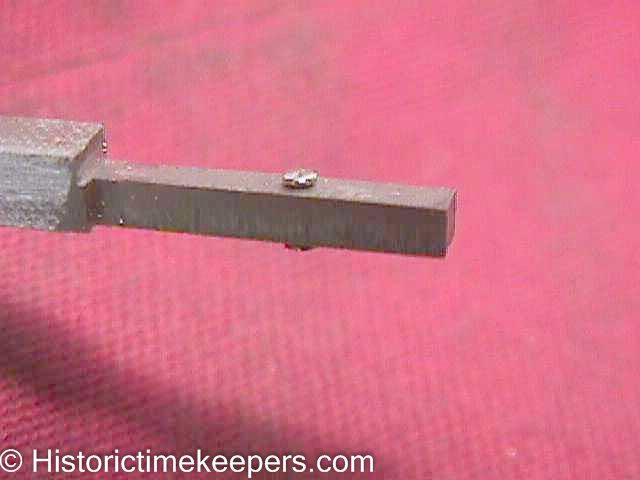

 The
locking jewel pipe, arm and detent horn filed to shape.
The
locking jewel pipe, arm and detent horn filed to shape.
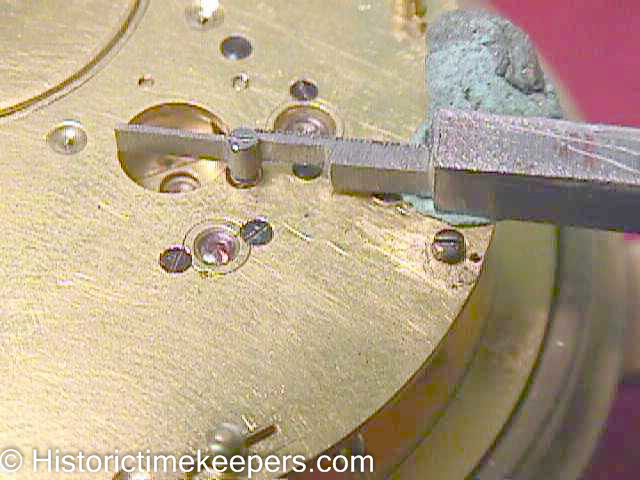 Check
the dimensions of the detent. The locking jewel pipe is over the
inspection hole that is above the banking screw that adjusts the lock of
the detent on the escape wheel. The foot to be will reach the
detent screw seen below the detent blank.
Check
the dimensions of the detent. The locking jewel pipe is over the
inspection hole that is above the banking screw that adjusts the lock of
the detent on the escape wheel. The foot to be will reach the
detent screw seen below the detent blank.
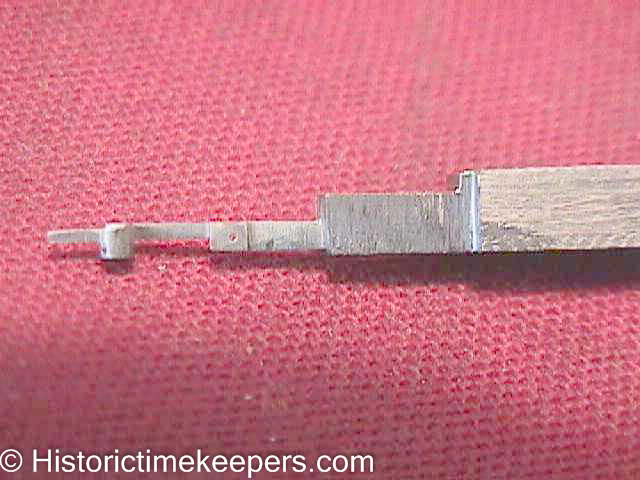 The
spring blade has been "roughed in" to locate the pad for the
passing spring. Drill and tap the hole for the passing spring
screw.
The
spring blade has been "roughed in" to locate the pad for the
passing spring. Drill and tap the hole for the passing spring
screw.
 File
the foot.
File
the foot.
 Drill
and tap the hole hole for the detent screw. Drill the hole for the
locating pin.
Drill
and tap the hole hole for the detent screw. Drill the hole for the
locating pin.
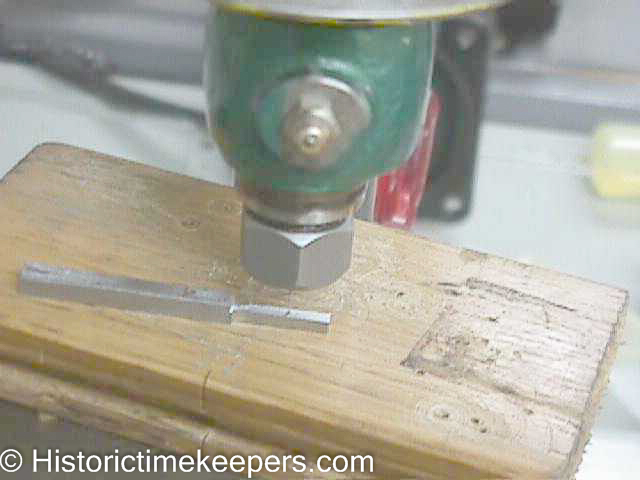
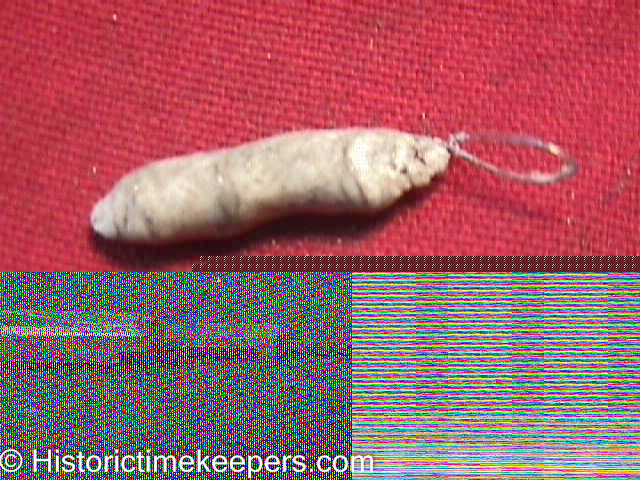 After
parting the detent from the blank, wrap in fine iron wire. Coat
with soap. Harden to cherry red and quench in motor oil. Be
VERY careful when unwrapping the wire, the detent is glass hard and very
thin in places.
After
parting the detent from the blank, wrap in fine iron wire. Coat
with soap. Harden to cherry red and quench in motor oil. Be
VERY careful when unwrapping the wire, the detent is glass hard and very
thin in places.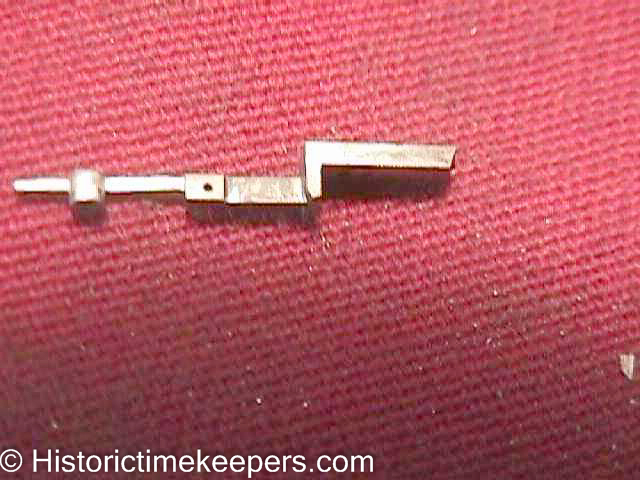 Polish
so you can watch the color of the foot and spring blade. Temper
the blade to blue.
Polish
so you can watch the color of the foot and spring blade. Temper
the blade to blue.
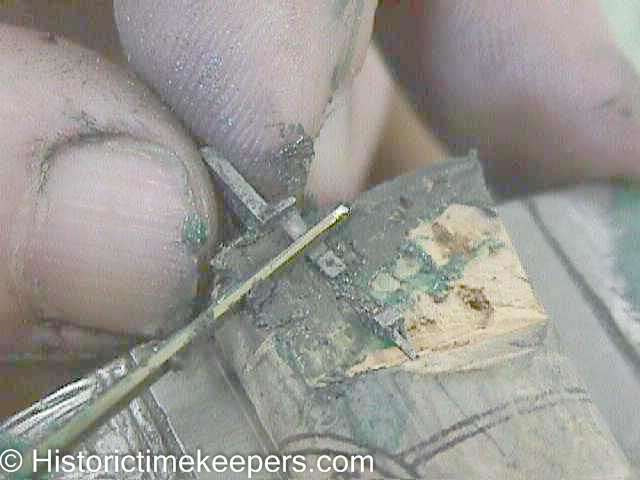 Grind
and polish the detent to size using ever finer grades of polishing
powder or diamond paste. The polishing "files" are made
from steel, brass and copper. By polishing on cork, the work is
fully supported and finds its own level making it possible to maintain
"flatness".
Grind
and polish the detent to size using ever finer grades of polishing
powder or diamond paste. The polishing "files" are made
from steel, brass and copper. By polishing on cork, the work is
fully supported and finds its own level making it possible to maintain
"flatness".
 This
is the detent after finishing with the diamond paste. Clean
thoroughly, wash your hands and work area. Get a new cork.
Polish with diamantine on either a rockwood stick or an ivory polisher.
This
is the detent after finishing with the diamond paste. Clean
thoroughly, wash your hands and work area. Get a new cork.
Polish with diamantine on either a rockwood stick or an ivory polisher.
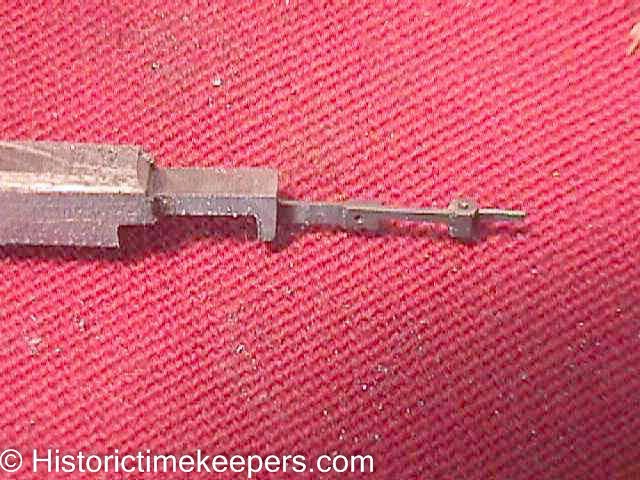
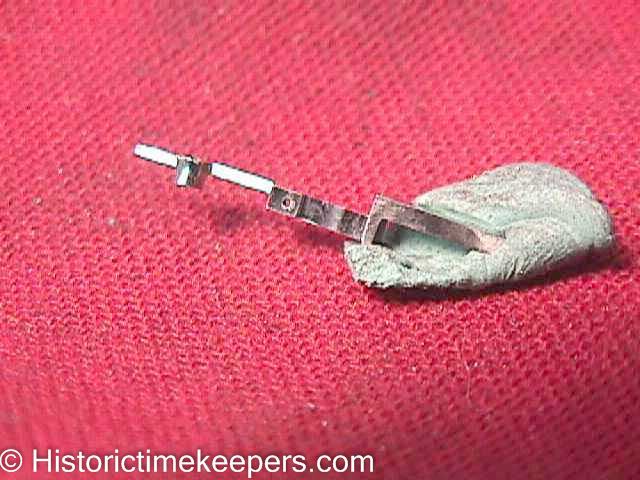 The
finished detent. A "black polish" is a bright polish
that either looks bright white or black, depending on how it is turned
to the light.
The
finished detent. A "black polish" is a bright polish
that either looks bright white or black, depending on how it is turned
to the light.